TeamViewer Customer Portal
The Customer Portal allows you to manage your subscription, payment, and billing.
This article applies to TeamViewer customers with a Remote Access, Business, Premium, Corporate, Assist AR, or Remote Management subscription.
Activate the Customer Portal
To activate the Customer Portal, please follow the instructions below. There are two different cases depending on your current licensing state:
- If you are a new customer, you will receive the instructions in a separate email called [Customer Portal Account Setup] Manage your TeamViewer subscription. Please open this email, click on Set Up My Account, and follow the instructions on the screen.
- If you are an existing customer, please click on the following link ➜ Activate the Customer Portal, and enter your invoice number. You can contact our customer support via this link if you encounter any issues during the activation.
Notes:
- TeamViewer Customer Portal is available exclusively for subscription license users.
- At the moment, the customers who purchased the TeamViewer license from the resellers are not able to use TeamViewer Customer Portal.
How to access the Customer Portal
To access the TeamViewer Customer Portal, please follow the instructions below:
- Click the TeamViewer Customer Portal access link.
- Sign in with your TeamViewer credentials.
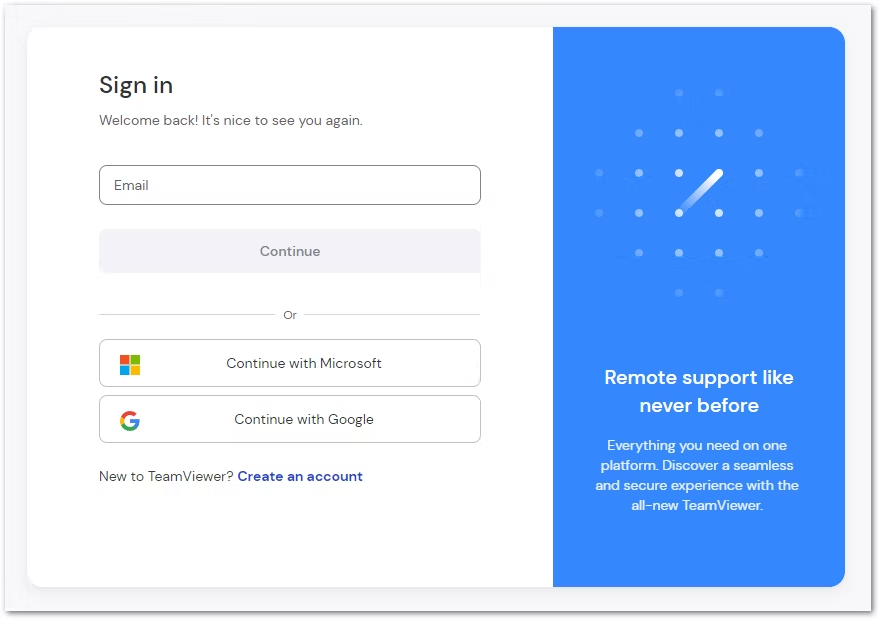
Alternatively, you can also:
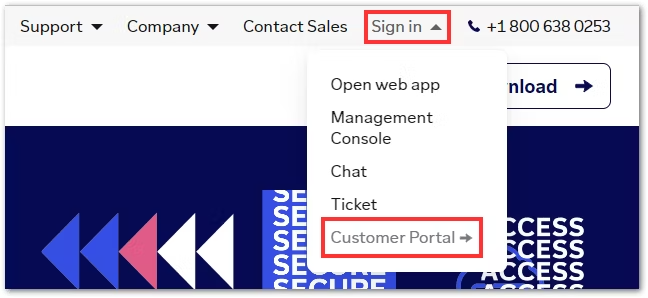
- Access our homepage https://www.teamviewer.com/.
- Click Sign in on the top right corner of the page, and click Customer Portal.
- Sign in with your TeamViewer credentials.
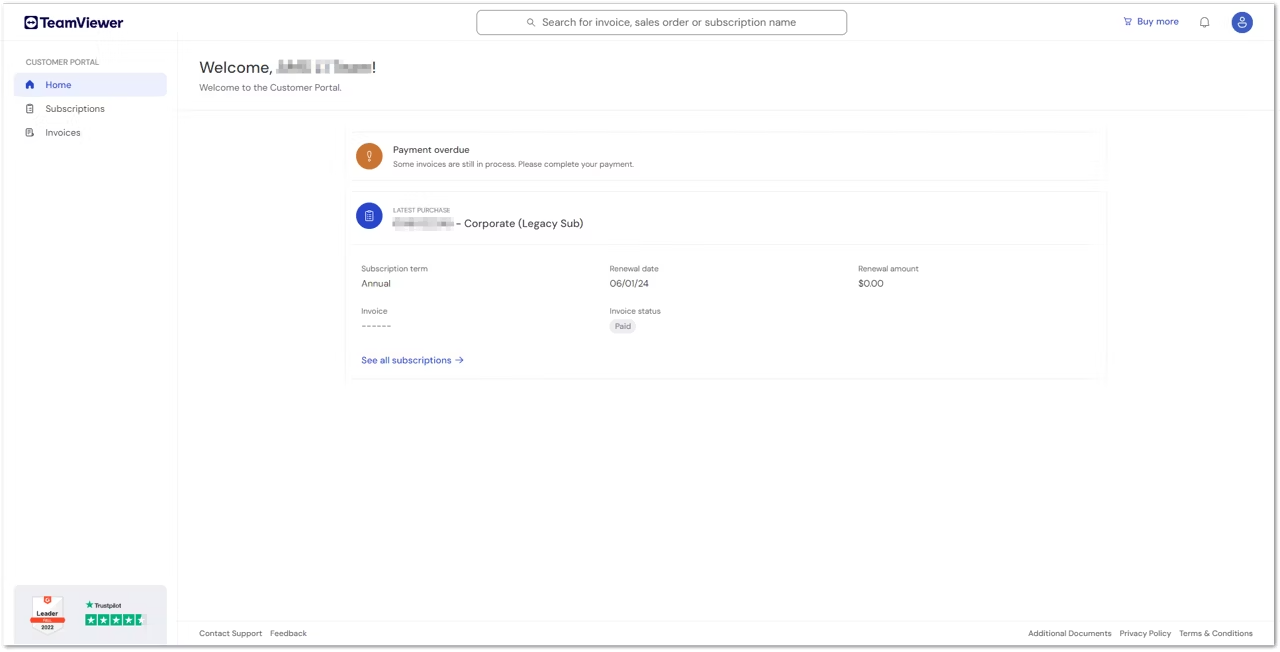
You have successfully signed in to the TeamViewer Customer Portal
How to download, pay, and send invoices via e-mail
To download an invoice, please follow the instructions below:
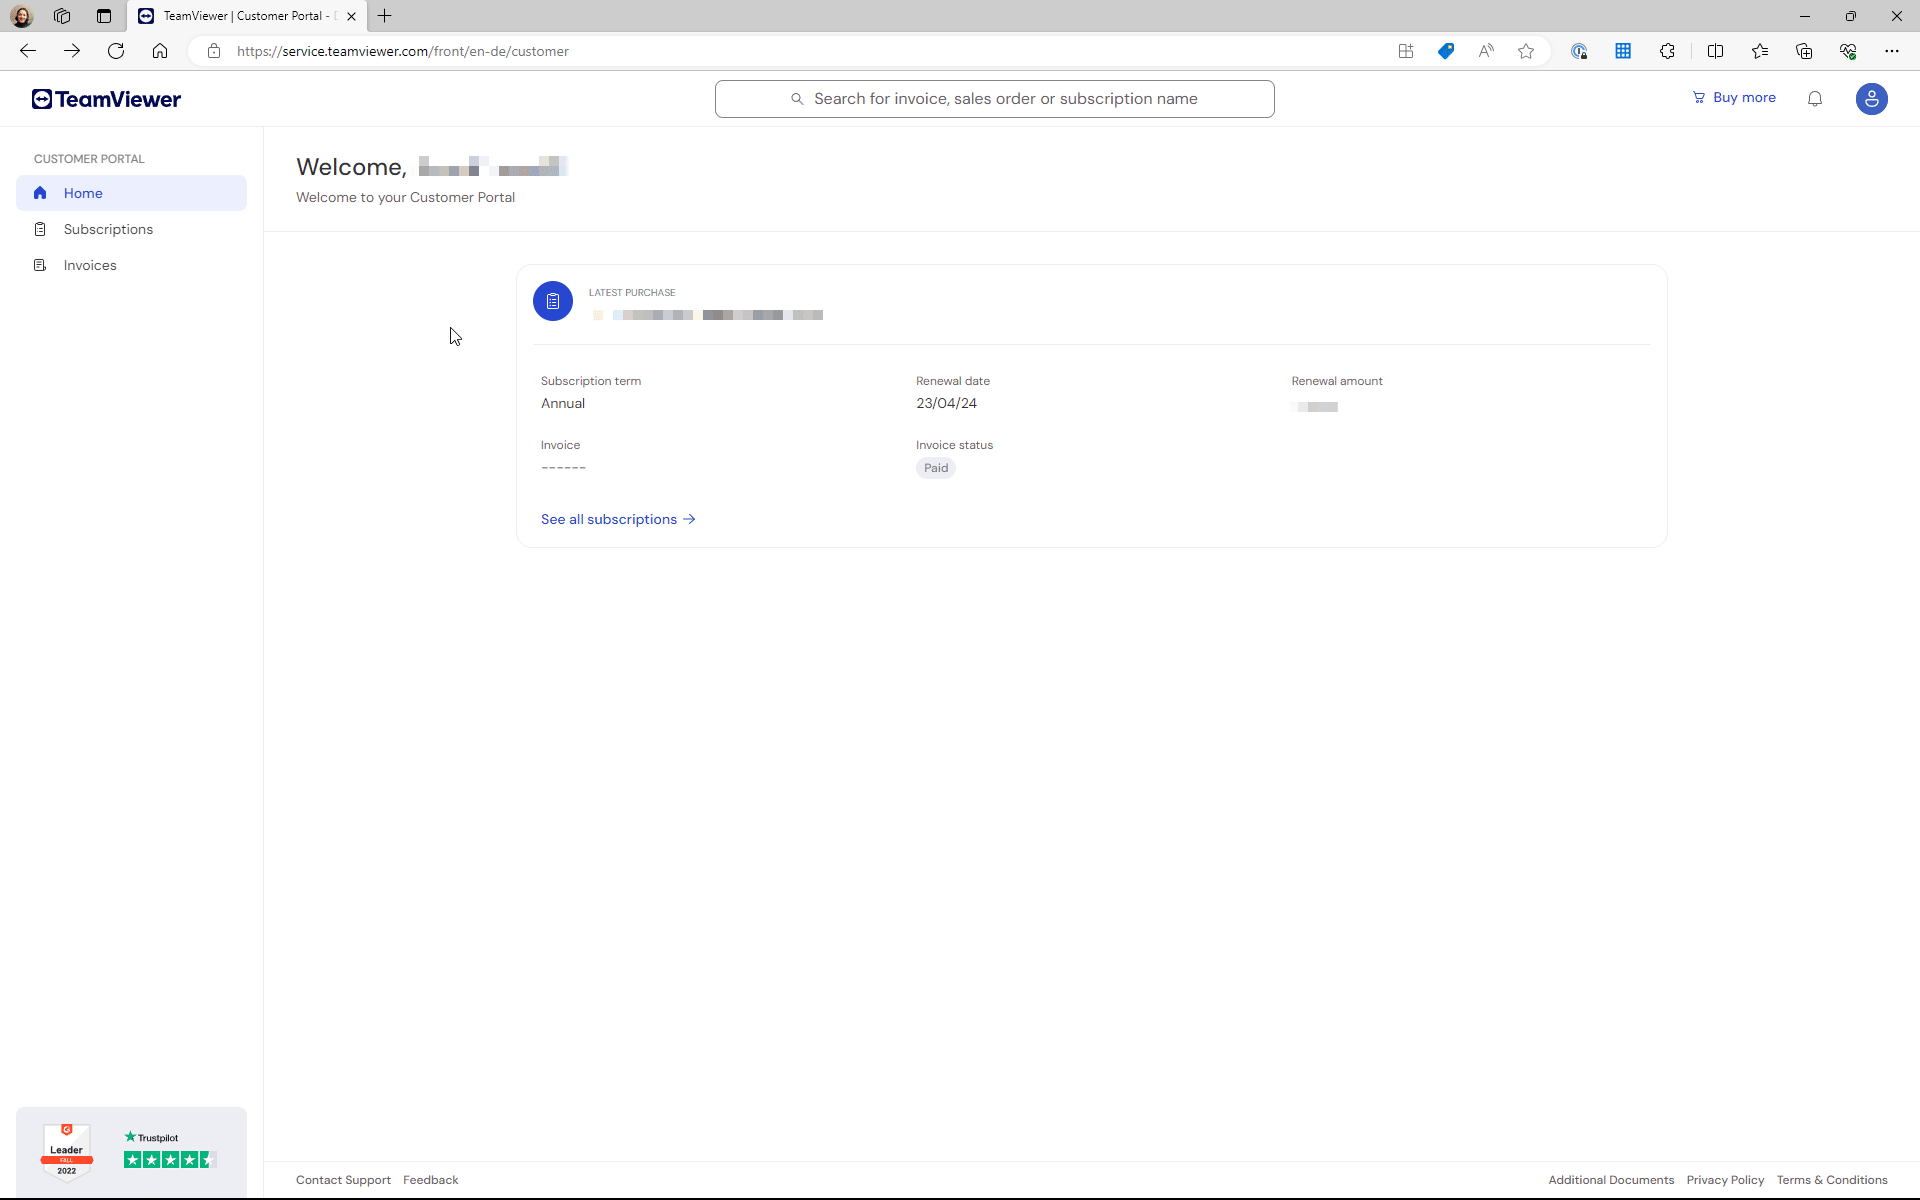
- Access the Customer Portal as described in the previous section.
- Click the Invoices menu.
- Next to the invoice you want to download, click the Download button.
The download will start, and the invoice will be available in your respective Download folder.
Hint: You can also upload a proof of payment document if your license has been set inactive due to payment default.
To pay an invoice, please follow the instructions below:

- Access the Customer Portal as described in the previous section.
- Click the Invoices menu.
- Next to the invoice you want to download, click the Pay button.
You will be redirected to the payment page.
To send an invoice via e-mail, please follow the instructions below:
- Access the Customer Portal as described in the previous section.
- Click the Invoices menu.
- Next to the invoice you want to send via e-mail, click the three dots (⋮) button.
- Click Send invoice via email.
- Enter the e-mail address you want to send the invoice to, and hit Enter. This will add the e-mail address to the field.
- Click Send.
The invoice has been sent to the email address you provided.
How to manage your subscription
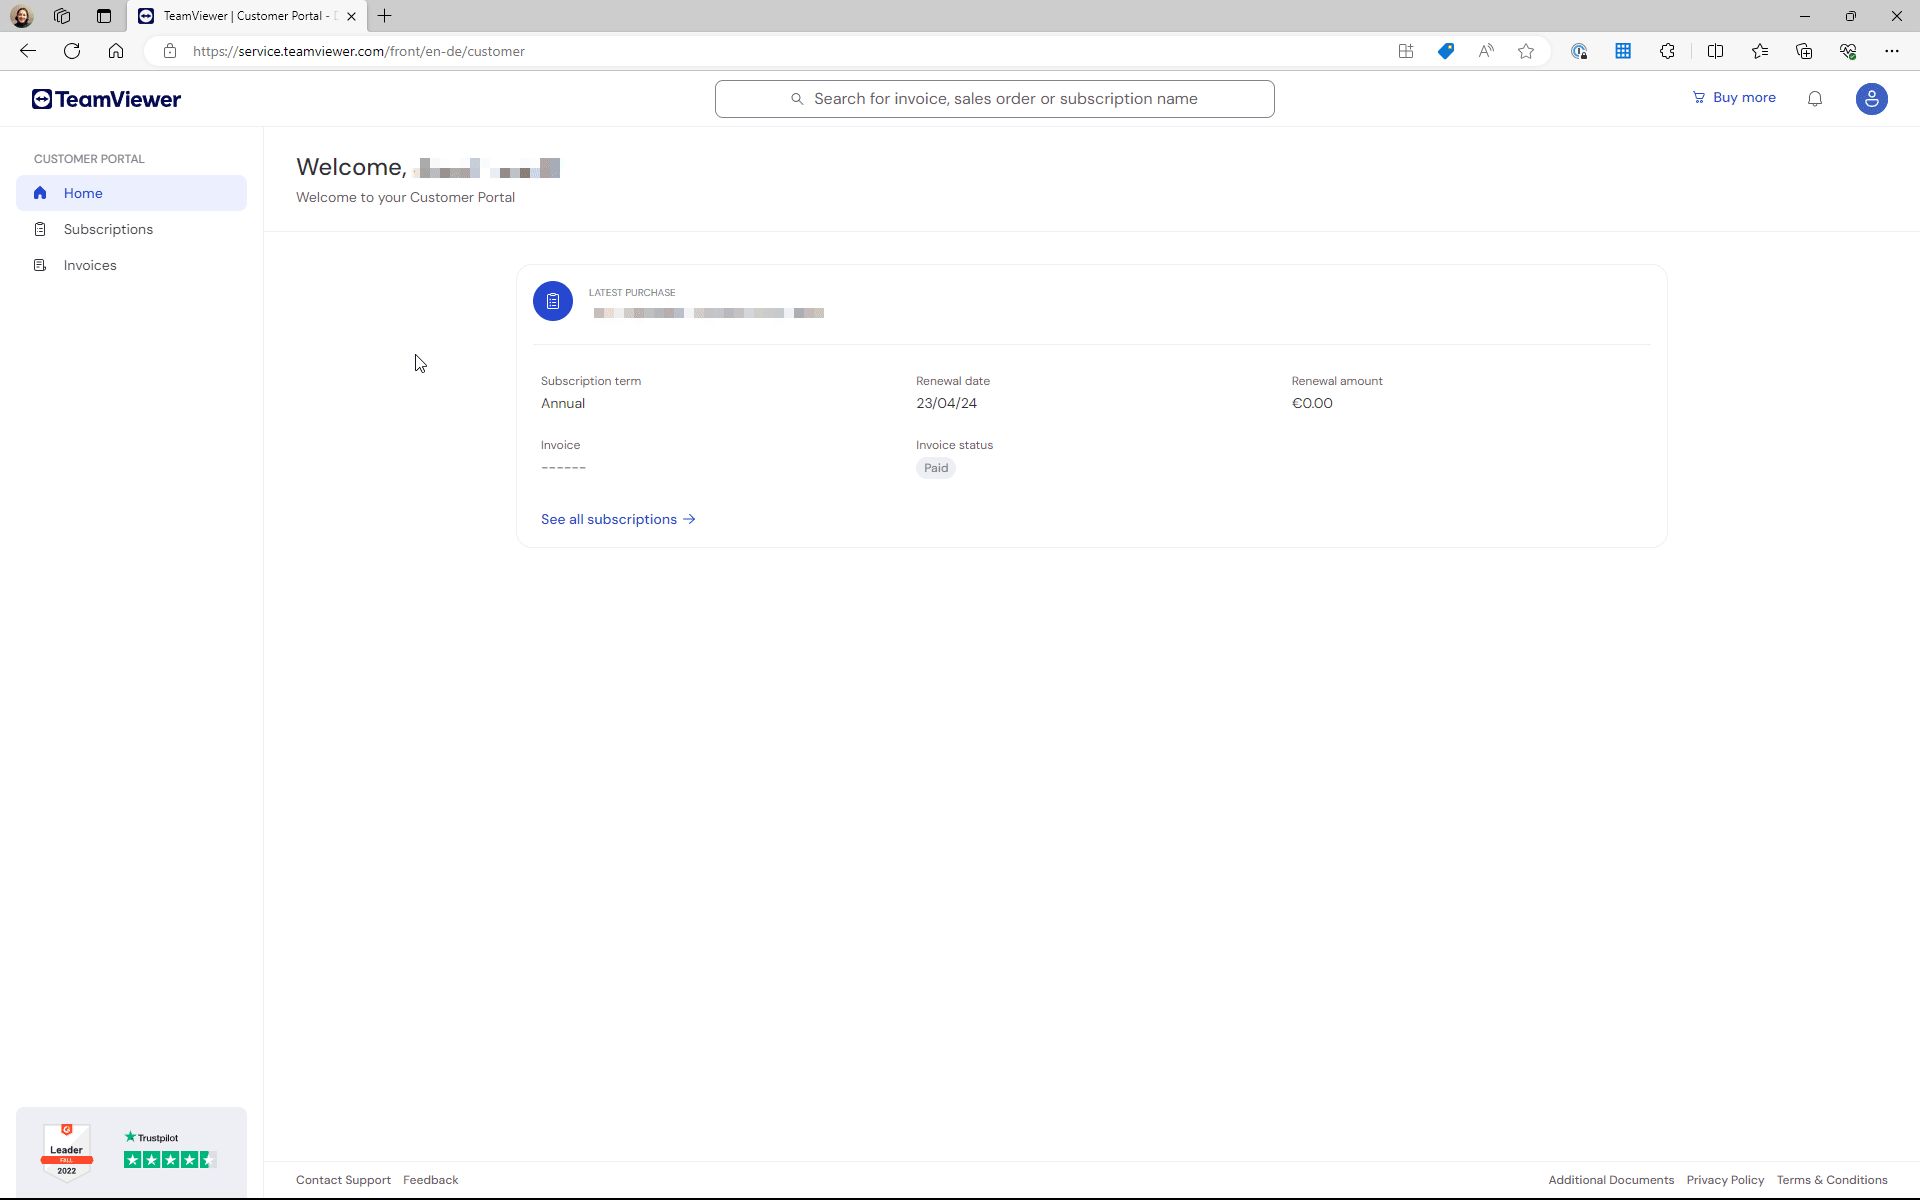
You can view and manage your TeamViewer subscriptions and get a quick overview of its most relevant information.
To manage your subscription, please follow the instructions below:
- Access the Customer Portal as described in the previous section.
- Click the Subscription menu.
- Click on Manage subscription.
How to change your payment method and billing address
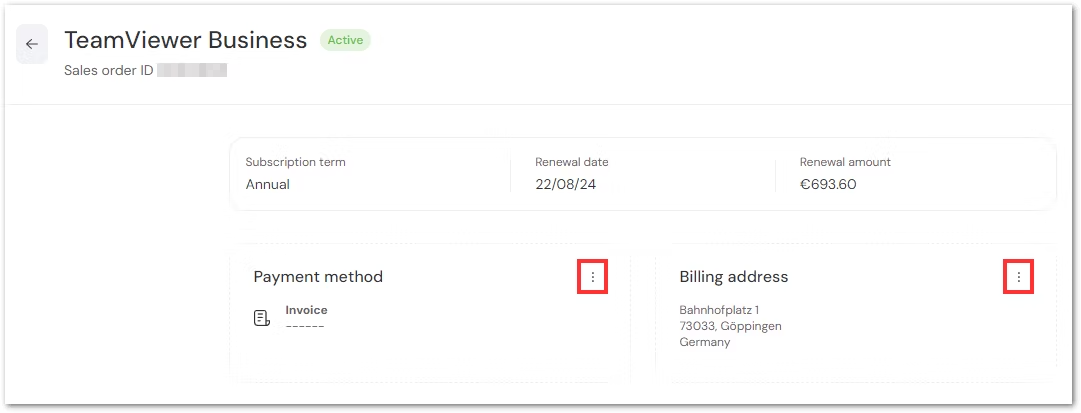
To change your payment method and billing address, please follow the instructions below:
- Access the Customer Portal as described in the previous section.
- Click the Subscription menu.
- Click on Manage subscription.
- Click the three dots (⋮) and Edit next to the respective item to either change your payment method or your billing address.
Notes:
- Changing the company name and the country is impossible via the Customer Portal. Please contact our Customer Support.
- You can upgrade your license by clicking the Upgrade button. The best current offer will be displayed.
Additional information
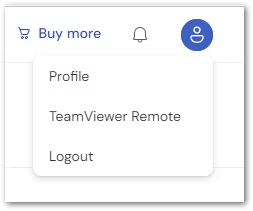
In the top right corner of the Customer Portal, you can:
- Check your notifications
- Edit your profile
- Sign in to TeamViewer Remote
Was this article helpful?
That’s Great!
Thank you for your feedback
Sorry! We couldn't be helpful
Thank you for your feedback
Feedback sent
We appreciate your effort and will try to fix the article